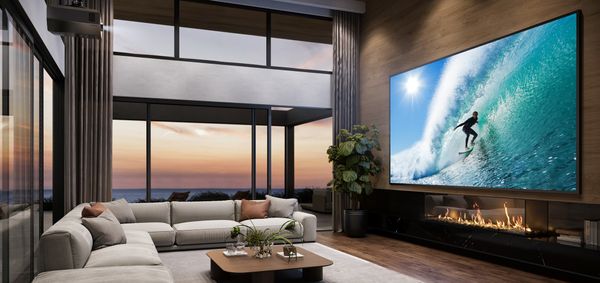
Unboxing that massive new unit feels incredible right up until you mount it to the ceiling and power it on. Suddenly, the image bleeds entirely off the wall onto the baseboards, or it looks surprisingly small from your back-row seating because the room dimensions were completely misjudged. Getting the math wrong on a Home theater projector setup leads to instant buyer's remorse and a frustrating weekend of patching drywall.
We have already run the numbers and solved these layout hurdles so you can skip the headache. At Bjorn's, our audio and video experts deal with these exact layout challenges daily, and we know exactly how to map out the perfect cinematic experience. This guide will walk you through the essential mathematical formulas, room layout guidelines, and equipment specs you need to plan your ideal viewing space.
Upgrade Your Home Entertainment
Discover premium audio and video solutions tailored for your unique room dimensions.
Key Takeaways
- Throw Ratio Foundations: Projector throw ratio dictates exactly how much distance is required between the lens and the wall to create your desired image size.
- Optimal Seating Distances: Following THX and SMPTE guidelines keeps your seating arranged for total visual immersion without aggressive eye fatigue.
- Lighting And Image Size: Pushing a projected image to massive proportions spreads the light output thinner, requiring higher lumens or specialized screens in bright rooms.
- Format Matching: Choosing between 16:9 and 2.35:1 aspect ratios directly impacts the physical height and width of your screen based on what you watch most.
How Room Size Dictates Your Home Theater Projector Setup
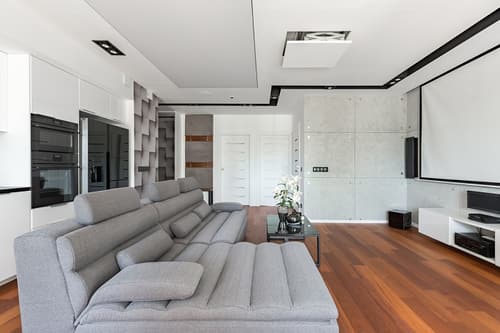
Your home cinema room dimensions play the biggest role in determining what equipment you can actually install. The concept of projector throw ratio acts as the mathematical foundation for your entire layout. This ratio simply tells you how wide the image will be based on the physical room depth. A standard lens requires significant distance between the hardware and the wall to create a massive image.
If your room is short, you need a different lens type to compensate for the lack of space. Our appliance experts know that measuring the floor space is only half the battle when planning your layout.
Hidden Vertical Obstacles
- False ceiling drops: These low architectural features limit how high you can mount a fixed frame screen.
- HVAC soffits: Bulky ductwork running along the ceiling can easily block the light path of a standard throw lens.
- Light fixtures: Low-hanging chandeliers or ceiling fans frequently interfere with the projected image.
When planning a 4K projector setup, always measure the vertical clearance alongside your room depth. We always recommend leaving a minimum of three inches of clearance between the top of your screen frame and any ceiling soffit to allow for structural shifting and easier bracket installation.
Calculating the Ideal Viewing Distance for Your Screen
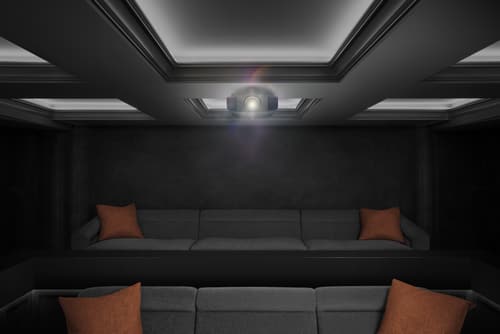
Hitting the sweet spot for a cinematic experience means balancing your screen size with your seating location. Industry standards help take the guesswork out of this process entirely. The THX viewing angle recommends a 40-degree field of view for a highly engaging, movie-theater feel. Meanwhile, the SMPTE seating distance provides a slightly more relaxed 30-degree field of view for mixed media watching.
You do not need a complex viewing distance calculator to figure out your ideal seating placement. A simple rule of thumb for a 100-inch screen is to place your seating about 10 to 12 feet away. For a larger 120-inch screen, push your seating back to roughly 12 to 14 feet to maintain a comfortable field of view.
Many buyers wonder how close they can sit before noticing individual pixels on the wall. Thanks to the high pixel density of a modern unit, you can sit surprisingly close without seeing the grid. Staying within the THX guidelines provides a sharp, pristine image without causing any eye strain.
Short Throw vs Standard Throw Home Theater Projectors
Choosing the right hardware depends entirely on your room layout and available space. The table below breaks down the primary differences between standard units and an Ultra short throw projector.
| Projector Type | Typical Throw Ratio | Minimum Room Depth Required | Placement Location | Susceptibility to Shadows | Ideal Screen Type |
|---|---|---|---|---|---|
| Standard Throw | 1.5:1 to 2.0:1 | Usually 10 to 15 feet. | Ceiling mounted or high rear shelf. | High risk if people walk through the room. | Standard white or gray fixed frame. |
| Short Throw | 0.4:1 to 1.0:1 | Usually 3 to 8 feet. | Ceiling mounted closer to the wall. | Moderate risk depending on seating height. | Standard fixed frame or tensioned motorized. |
| Ultra-Short Throw (UST) | Less than 0.4:1 | Only a few inches to a foot. | Low media console beneath the screen. | Very low risk since the light path is short. | Ambient light rejecting (ALR) specifically for UST. |
Widescreen Formats and Your Home Theater Projector
The shape of your screen is just as important as the overall size. Understanding the 16:9 vs 2.35:1 aspect ratio debate helps you match your hardware to your primary content habits. The standard 16:9 format is the exact shape of a modern television, making it perfect for sports, gaming, and television shows.
The 2.35:1 format provides a much wider, cinematic canvas that matches how major blockbuster movies are actually filmed. Choosing this wider aspect ratio alters the physical height and width of the screen on your wall. A 16:9 screen will be significantly taller, while a 2.35:1 screen stretches much wider horizontally.
If you watch widescreen cinema movies on a 16:9 screen, you will experience letterboxing, which creates thick black bars at the top and bottom of the image. Some dedicated cinephiles use specialized anamorphic lenses to optically stretch the image and fill a 2.35:1 screen completely. We often recommend looking at your media library before committing to a final screen shape.
The Pros and Cons of a Home Theater Projector
Opting for projection over a massive traditional flat-panel TV offers incredible value for dedicated media rooms. While you gain a genuinely cinematic scale that no standard television can match, dealing with light control and physical space requirements takes careful planning.
Pros
Massive Screen Real Estate
Projection allows you to achieve screen sizes well over 100 inches at a fraction of the cost of a similar flat-panel display.
Cinematic Authenticity
The reflected light of a projected image is naturally softer on the eyes and replicates the genuine local cinema experience.
Hidden Equipment Footprint
Motorized screens and ceiling-mounted hardware can completely disappear into the room architecture when not in use.
Total Customization
You have the freedom to dictate the exact format, size, and screen materials that fit your unique room layout.
Cons
Light Control Demands
Achieving deep black levels and vibrant contrast requires aggressive management of room lighting and window treatments.
Complex Installation Paths
Running HDMI cables and power through the ceiling to a rear mounting location involves more structural work than placing a TV on a stand.
How Ambient Light Impacts Projector Screen Size Choices
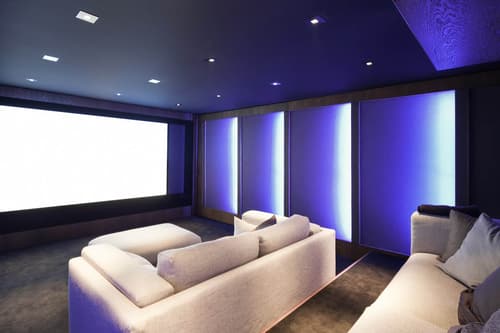
Lighting control will make or break your massive display. There is a direct relationship between your desired image size, the room lighting, and your projector's brightness. Any reliable ANSI lumens guide will show that as you push a projected image to larger proportions, the available light output is spread thinner across the surface.
This makes a high-lumen output absolutely mandatory for massive screens in rooms with windows or open floor plans. Expanding your screen size in a multipurpose living space usually degrades color accuracy and contrast if the room is too bright. To maintain that visual punch, you have to manage how the screen handles ambient light.
We frequently utilize specialized screen materials to solve this exact problem.
Handling Bright Rooms
- Projector screen gain: Choosing a material with higher gain helps bounce more of the projected light directly back at the primary seating area.
- Ambient light rejecting screen: These specialized ALR surfaces actively absorb light coming from windows while reflecting the projector's light back to the viewer.
- Directional reflection: Strategic screen materials prevent the image from washing out completely during daytime sports viewing.
Transform Your Living Space with a Home Theater Projector Today
Calculating the correct throw distance, nailing the seating angles, and managing room lighting are the foundations of an unforgettable media room. When you get the math right, the resulting visual immersion is truly spectacular. Turn your home entertainment dreams into reality by consulting the experts at Bjorn's today.
As your local independent retailer, we offer expert showroom guidance to help you navigate these technical specifications in person. Schedule a custom design consultation with our team and let our professional local installation crew handle the heavy lifting for your perfect setup.
Frequently Asked Questions About the Home Theater Projector
You should typically mount the bottom edge of your screen about 24 to 36 inches off the floor. This Projector mounting height keeps the center of the image roughly at eye level for seated viewers.
You can point a 4K Home theater projector at a textured wall, but the uneven surface will severely distort the image sharpness. We highly recommend using a proper, tensioned screen to preserve the high pixel density of your equipment.
Throw ratio dictates the base distance required to achieve a specific image width, while optical zoom gives you a small margin to adjust that size without physically moving the unit. Optical zoom provides placement flexibility, but the throw ratio determines your core installation zone.
A standard throw model generally needs to be mounted roughly 12 to 15 feet away to properly fill a 120-inch screen. You will need to check the exact lens specifications of your specific unit to get the precise physical measurement.
Yes, an Ultra short throw projector requires a specialized lenticular screen to look its absolute best. These specific screens reject overhead lighting while perfectly catching the extreme upward angle of the unit's light path.
A curved screen is excellent for extremely wide 2.35:1 formats because it keeps the edges of the image at the exact same viewing distance as the center. This design actively reduces optical distortion for viewers sitting directly in the middle of the seating arrangement.
Why Trust Bjorn’s?
Choosing a partner for residential or commercial solutions is about more than just equipment; it's about expertise and long-term support. As a second-generation, family-owned San Antonio business, Bjorn's has built its reputation on a foundation of trust. Unlike a typical retail store, we are one of the few dealers in the country that specializes in both high-end equipment sales and the complex design and installation of full-scale, custom audio-video systems. This comprehensive expertise ensures your project is designed to perform flawlessly from the ground up.
Our commitment to you doesn't end when the installation is complete. One of the most significant reasons our customers trust us is our extensive, in-house service department. While other stores may send you to an uninterested third party for help, we believe in servicing what we sell. We treat our customers like friends and family, and if you ever have a problem, we want to be the ones to take care of it. That is our commitment to managing your "electronic lifestyle" for years to come.