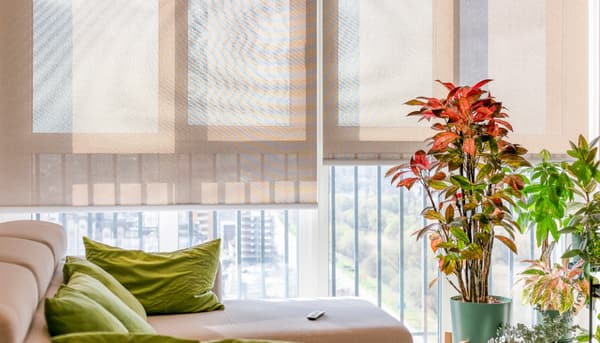
You stand in the middle of your living room surrounded by cardboard boxes, staring at a confusing pile of mounting hardware and wires. Upgrading your natural lighting sounded like a straightforward weekend project, but the reality of installing electric blinds often involves complex brackets and unfamiliar motor components. One wrong measurement or uneven pilot hole can leave your brand new window treatments crooked and grinding against the frame.
Fortunately, our local experts have mastered this exact setup process, saving you the headache of trial and error. At Bjorn's, we provide both the DIY guidance you need to tackle the project and professional custom integration if you prefer to skip the ladder entirely. This guide walks you through the step-by-step installation process so your motorized shades operate exactly as intended.
Upgrade Your Window Treatments Today
Find the perfect motorized shades for your space and let our experts handle the heavy lifting.
Key Takeaways
- Accurate Measurement: Precision matters most because a quarter-inch error can completely derail the installation.
- Power Options: Choosing between battery-powered and hardwired models dictates your installation difficulty.
- Level Brackets: Perfectly leveled mounting hardware prevents fabric telescoping and motor strain.
- Smart Integration: Syncing to a central hub makes voice control and automated scenes possible.
Preparing Your Windows for Smart Shade Installation
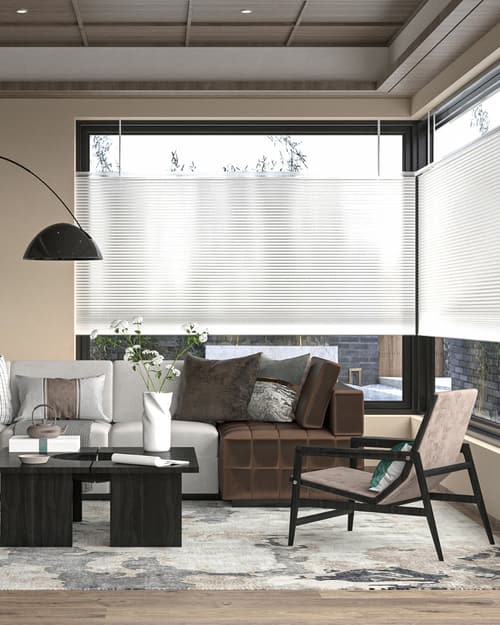
Getting the preparation right saves hours of frustration later. You need a few specific tools to complete this smart blinds installation correctly. Gather a power drill, a reliable level, a steel measuring tape, and a sturdy step ladder.
Before picking up the drill, you must understand the difference between inside mount and outside mount measurements. Inside mounts sit flush within the window frame, while outside mounts cover the molding entirely. Precision is incredibly important during this phase. Even a quarter-inch error can ruin the functionality of motorized window treatments, causing the fabric to snag or the motor to bind.
Battery-Powered vs. Hardwired Motorized Shades
| Feature | Battery-Powered | Hardwired |
|---|---|---|
| Installation Difficulty | Easy for most DIY beginners. | Requires advanced electrical knowledge. |
| Power Reliability | Requires occasional battery changes. | Constant, uninterrupted power supply. |
| Wall Damage/Wire Concealment | None, as there are no wires to hide. | Often requires cutting into drywall. |
| Smart Home Hub Compatibility | Works well with most wireless bridges. | Integrates deeply with advanced systems. |
| Long-Term Maintenance | Batteries degrade and need replacement. | Minimal maintenance once installed. |
Mounting the Brackets for Your Electric Blinds
Finding the Window Depth
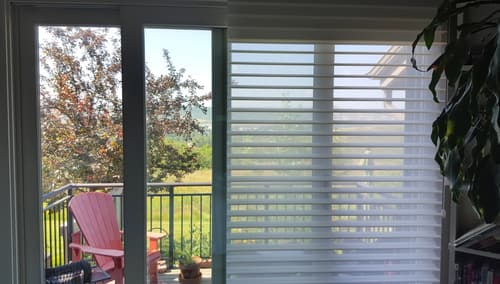
Start by measuring the window depth to verify you have enough clearance for a flush mount. The headrail needs adequate space to sit without pushing against the glass. Mark your bracket locations with a pencil before doing any drilling.
Pre-Drilling and Leveling
Always pre-drill pilot holes to prevent the window casing wood from splitting. Once you attach the brackets, use your level to confirm they are perfectly straight. If the brackets are uneven, the motor will grind and catch on the fabric. Our installation teams always recommend adding an extra 1/8-inch of clearance behind the headrail to account for window cranks or handles that might obstruct the fabric's path.
Securing and Powering Up Your Electric Blinds
With the brackets firmly in place, carefully lift the headrail or roller tube. Click the unit directly into the mounted brackets until you hear a solid snap. Next, initiate the initial power-up sequence for your automatic blinds setup.
Depending on your model, you will either insert the battery wand, connect a plug-in transformer, or link the hardwired pigtail. Keep in mind that hardwiring should always involve a licensed electrician to guarantee safety. Always test the manual toggle button on the headrail first to verify the motor works before moving on to software programming.
Programming and Syncing Electric Blinds to Your Smart Home
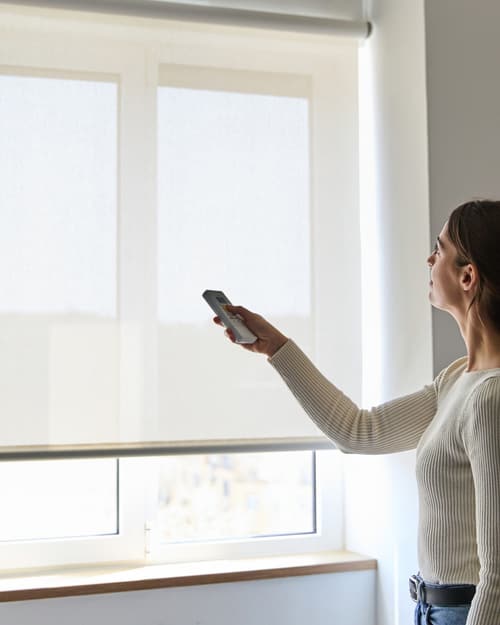
The digital setup phase brings your custom window treatments to life. Start by pairing the shades with the manufacturer remote control provided in the box. Use the remote to set the upper and lower travel limits, which prevents the motor from overworking and extends its lifespan.
Next, bridge the blinds to your home network using a smart home hub. This wireless bridging connects the shades to your existing mesh network. Once connected, you can set up scene programming and control the shades through ecosystems like Control4, Alexa, or Google Home.
The Pros and Cons of DIY Electric Blinds Installation
Deciding between installing the system yourself or hiring a professional custom integrator comes down to your comfort level with tools and technology. DIY routes save upfront money, while professional installation guarantees a flawless setup.
Pros
Cost Savings
You avoid paying hourly labor rates for installation.
Immediate Gratification
You can install the shades the same day you bring them home.
System Familiarity
Setting up the smart home hub yourself teaches you exactly how the software works.
Flexible Scheduling
You can complete the project on a weekend without waiting for an appointment.
Cons
Measurement Risks
A tiny math error means the expensive shades will not fit the window.
Wiring Dangers
Attempting a hardwired installation without electrical experience can cause house damage.
Common Electric Blinds Installation Mistakes to Avoid
Many homeowners run into the same frustrating roadblocks during setup. Avoiding these pitfalls keeps your home automation window coverings running smoothly.
- Unlevel Brackets: Uneven mounting causes the fabric to telescope and fray on one side. Fix this by using a high-quality level during the bracket installation phase.
- Reversed Motor Directions: Sometimes the up button makes the shade go down. Fix this by holding the specific reset combination on the manufacturer remote to reverse the polarity.
- Wi-Fi Connectivity Drops: Shades located too far from the router will frequently disconnect. Fix this by installing a dedicated wireless repeater or bridging module in the same room.
Skip the Ladder: Let Bjorn's Install Your Electric Blinds
Accurate measurements, selecting the right power type, and successfully syncing to your smart home hub dictate the success of your motorized shades. If you prefer to skip the ladder and the power tools, let our experts handle the entire process. At Bjorn's, you receive expert showroom guidance, professional installation by certified A/V technicians, and robust local customer service that big-box competitors simply cannot match.
Frequently Asked Questions about Electric Blinds
Installing electric blinds typically ranges from a few hundred dollars for basic battery models to several thousand for custom hardwired systems. The final price depends heavily on window size, fabric choice, and professional labor fees.
Yes, you can easily install battery powered electric blinds without touching your home's electrical wiring. These units use rechargeable battery wands that simply click into the headrail for power.
You connect smart blinds to a Wi-Fi network by pairing the shades to a dedicated smart bridge plugged into your wall. This bridge acts as a translator between the motor's radio frequency and your home router.
Most battery-powered electric blinds will continue to operate normally during a power outage. Hardwired models will temporarily lose function unless they are connected to a backup generator or battery supply.
Batteries in motorized window shades generally last between six months and one year before needing a recharge or replacement. The exact lifespan depends on how frequently you raise and lower the window treatments each day.
You can retrofit certain styles of existing manual blinds by installing an aftermarket motor into the roller tube. Upgrading your current shades is often a cost-effective way to achieve automation without buying entirely new fabrics.
Why Trust Bjorn’s?
Choosing a partner for residential or commercial solutions is about more than just equipment; it's about expertise and long-term support. As a second-generation, family-owned San Antonio business, Bjorn's has built its reputation on a foundation of trust. Unlike a typical retail store, we are one of the few dealers in the country that specializes in both high-end equipment sales and the complex design and installation of full-scale, custom audio-video systems. This comprehensive expertise ensures your project is designed to perform flawlessly from the ground up.
Our commitment to you doesn't end when the installation is complete. One of the most significant reasons our customers trust us is our extensive, in-house service department. While other stores may send you to an uninterested third party for help, we believe in servicing what we sell. We treat our customers like friends and family, and if you ever have a problem, we want to be the ones to take care of it. That is our commitment to managing your "electronic lifestyle" for years to come.